I did two versions of this project. One (Kaelee) used scrapbook paper, and the other (Kayson) used fabric. This is my first time working with fabric and Mod Podge (I used matte formula, not the fabric formula), and liked it a little better for making the letters.
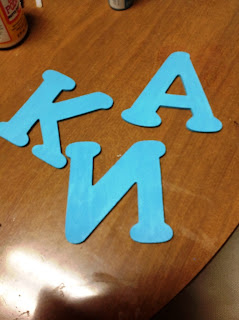
I purchased the rack and the letters from Hobby Lobby and painted everything in Apple Barrel Caribbean Blue. The rack came with a handy groove already cut at the top for the letters.
I cut out the letters by tracing them onto the back of the paper/fabric and cutting them out (I used a craft knife to cut out the letters). For the fabric, I put a coat of Mod Podge on and let it dry before cutting anything out. Once the letters were cut out, I used Mod Podge to glue them on, and the did two coats of Mod Podge on the front and edges, and then one on the back.
For Kaelee's rack, I cut out squares of matching scrapbook paper, and punched out shapes with my new punches that were on sale at Hobby Lobby for 40% off. I used Mod Podge to glue them on, and then did a coat of Mod Podge over everything.
For Kayson's, I punched holes in the fabric (after coating with Mod Podge and allowing to dry) for the pegs. I was ok with them looking a little topsy-turvy because of the underwater pattern and the fact that they reminded me of bubbles. (SIDE NOTE: I would not recommend trying to punch fabric with a punch intended for paper. It does not work well at all and almost broke my punch. I added a border of yellow ribbon to finish it off.
After everything dried, I glued the letters into the grooves with hot glue. I would recommend a sturdier glue (maybe wood glue?), especially for the letters that do not have much of a bottom base. I ended up squirting a good amount of glue in to give the letters something to stick to.
Finally, I drilled holes on each side in the center for nail hole to allow them to be hung on the wall.


No comments:
Post a Comment