Yes, I am working on Christmas crafts already. Is anyone really surprised by this?
I decided to start working on our family Christmas ornaments a little early. We use Christmas ornaments every year to draw names for our family gift exchange, and I was so excited to make them again this year due to my new-found love affair with Mod Podge.
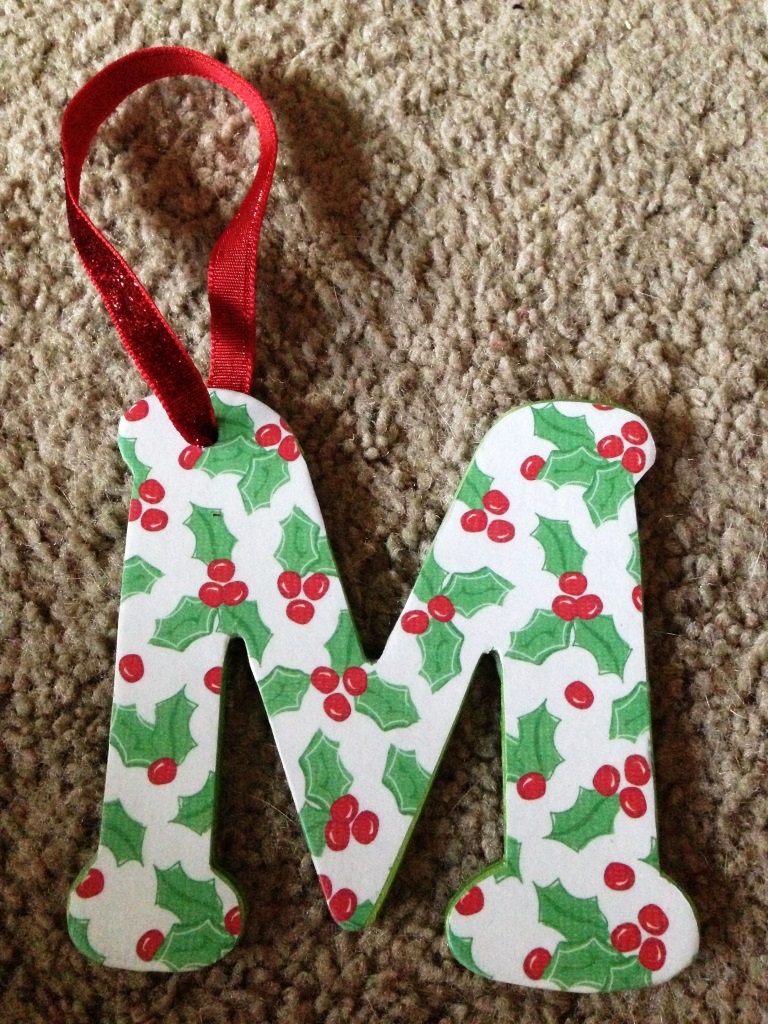
I purchased the wooden letters, papers, and ribbon from Hobby Lobby.
I sanded down the edges of the letters and then cut out the shapes of each of the individual letters. I found out this is easier to do before painting because I use a craft knife to trace out the shape of the letters and every once in a while I get too close to the wood and shave a little off.
Then, I punched a hole in the letters and traced the location onto the letters with a pencil. Deputy D helped me to drill the holes in the letters. This wood is really soft and I had trouble with splintering when I tried to do it myself. Deputy D seems to be able to drill them cleanly. I then used a Dremmel tool to clean up the edges of the holes.
I painted the letters with coordinating colors to the papers. I tried a new brand of craft print from Michael's and it worked out pretty well. On a side note, acrylic paint has a shelf life of something less than 12 years. I purchased my stash of paints sometime in college, and ended up throwing them all away. Now I have to go through the process of replacing all of my colors.
Once the paint had dried, I used Mod Podge to adhere the paper to the letters and let it dry for 15 minutes. Then, I covered it up with a layer of Mod Podge and let it dry overnight.
I punched out snowflakes using a punch that I purchased from Michael's when they were on sale.
I decorated the the letters with the snowflakes and adhered them with Mod Podge. While that was drying, I added initials and the year to the back of the letters.
I put layers of Mod Podge over everything, three layers total.
For the final touch, I added glittered ribbon that I purchased from Hobby Lobby to be used for hanging.
And the Christmas count-down has begun!